Navigate to SMS Marketing. Select your jukebox.
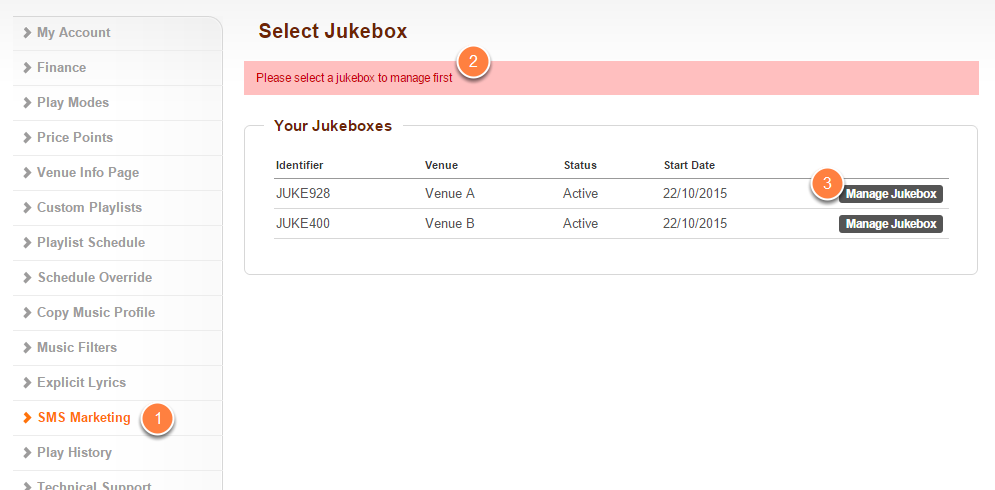
- Click on SMS Marketing located on the left-hand navigation menu.
- If you do not have your jukebox selected already, then you will be prompted to select the jukebox you would like to manage.
- Do this by clicking on the appropriate Manage Jukebox button.
Click on New Campaign if you have one or more active subscribers.
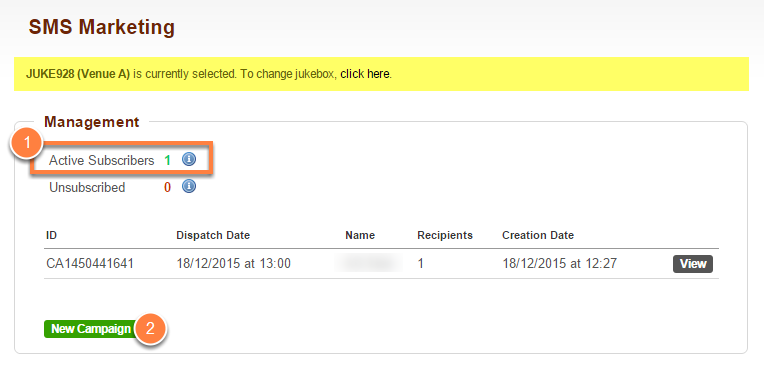
- In order to create and schedule campaigns you need to have at least one active subscriber.
- If you have one or more active subscribers, click on New Campaign.
Create your New Campaign. Click Save.
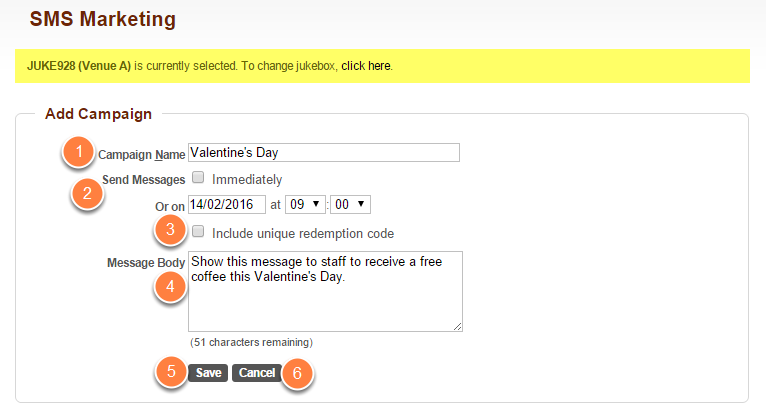
- Name your campaign in the Campaign Name field.
- You can either choose to have this message sent out immediately or choose a date & time in the future for scheduled delivery.
- Ensure that the Include unique redemption code is unchecked. If you wish to have unique redemption codes then please get in touch with the Startle Sales Team by raising a ticket through Technical Support.
- Enter your message in the Message Body text area.
- If you are happy with your information, click on Save to proceed.
- If you want to cancel the campaign and not proceed with it anymore, click on Cancel.
Confirmation required to send out the campaign.
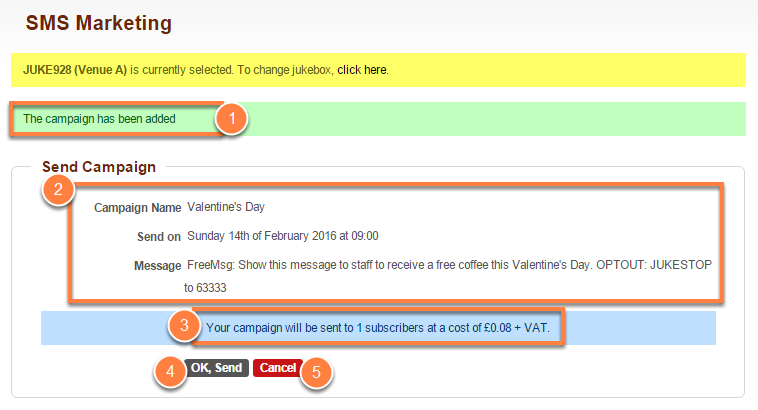
- You will receive a message saying that your campaign has been added.
- Details of your Campaign: Name, when it will be sent, and message.
- This tells you how many subscribers the message will be sent to and the cost associated with it.
- If you want to send or schedule it, click on OK, Send. Once you decide to click on 'OK, Send' you will not be able to edit or cancel it.
- If you still want to decide whether you want to send it, click on Cancel. You can then come back to it at a later time. You will then still be able to Edit it or Delete it.
Campaign successfully scheduled. Click on View for details.
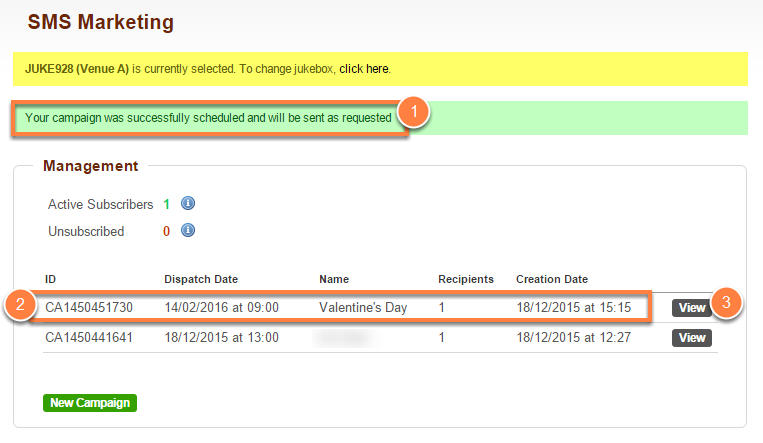
- You will see a message saying that your campaign has been successfully scheduled and will be sent as requested. If you decided to send it out immediately it will say that the message has been sent.
- The newly-created campaigns details: ID, Dispatch Date, Name, Number of recipients, and Creation Date.
- Click on View for more detailed information like the Message and Delivery Stats.
View Delivery Stats.
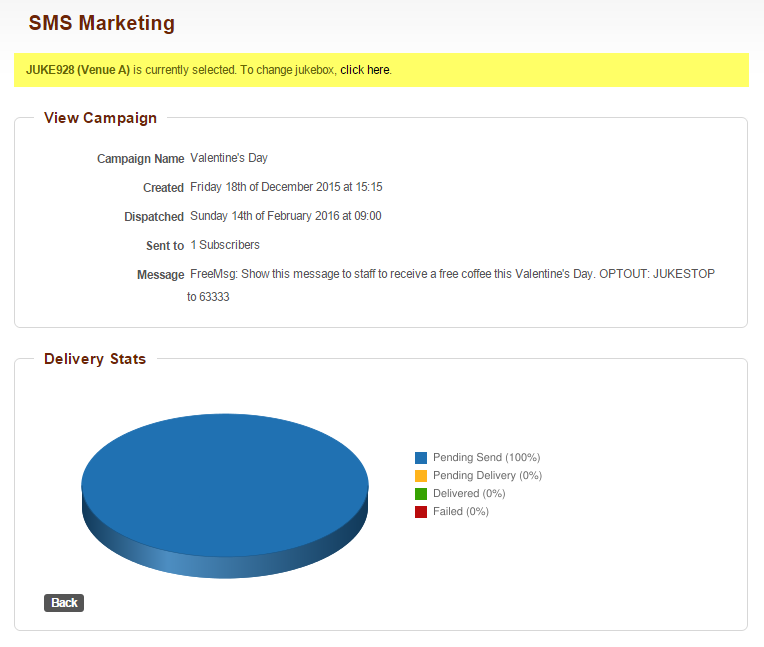
Once you have clicked on View, you will be able to view the details of the campaign as well as its delivery stats.